This page looks best with JavaScript enabled

SpringBoot 前后端多环境配置

 ·  ☕ 2 min read

后端spring boot启动配置

  • spring boot 多环境配置
  • 使用application-xxx.yml来设置不同的配置, xxx表示环境名
  • 公共模块打包, 不能带spring-boot-maven-plugin插件
  • springboot jar包启动命令: java -jar system-0.0.1-SNAPSHOT.jar –spring.profiles.active=xxx, xxx代表环境名

多环境配置

通过再启动命令里增加spring.profiles.active的变量值, 达到支持多环境的效果

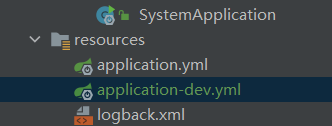
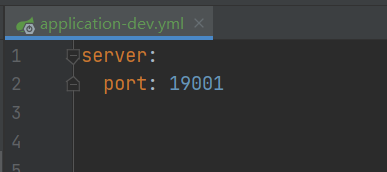
  1. 复制配置文件改名为application-dev.yml

  2. 修改需要更改的环境配置

  3. 到 Edit Configurations.. 中去修改activeprofile的参数
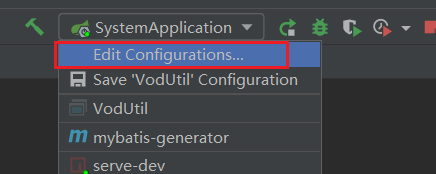
  4. 重启springboot项目模块

  5. 连接数据库配置设置同理

打包

问题插曲1: process terminated

在Maven中执行install出现process terminated 错误, 排查后是在pom.xml中忘记复制标签了:

1
2
3
4
5
6
7
8
    <build>
        <plugins>
            <plugin>
                <groupId>org.springframework.boot</groupId>
                <artifactId>spring-boot-maven-plugin</artifactId>
            </plugin>
        </plugins>
    </build>

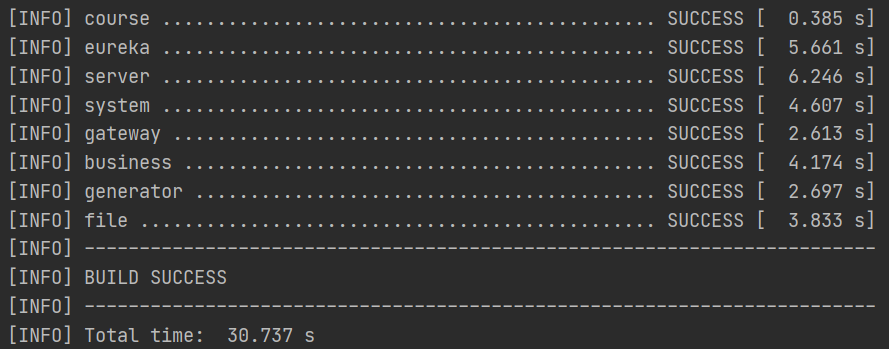
打包成功:

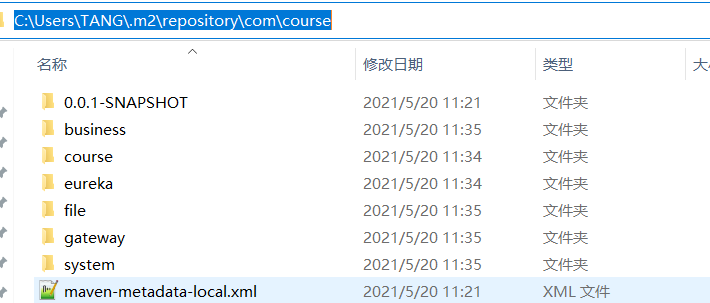
查看jar包:

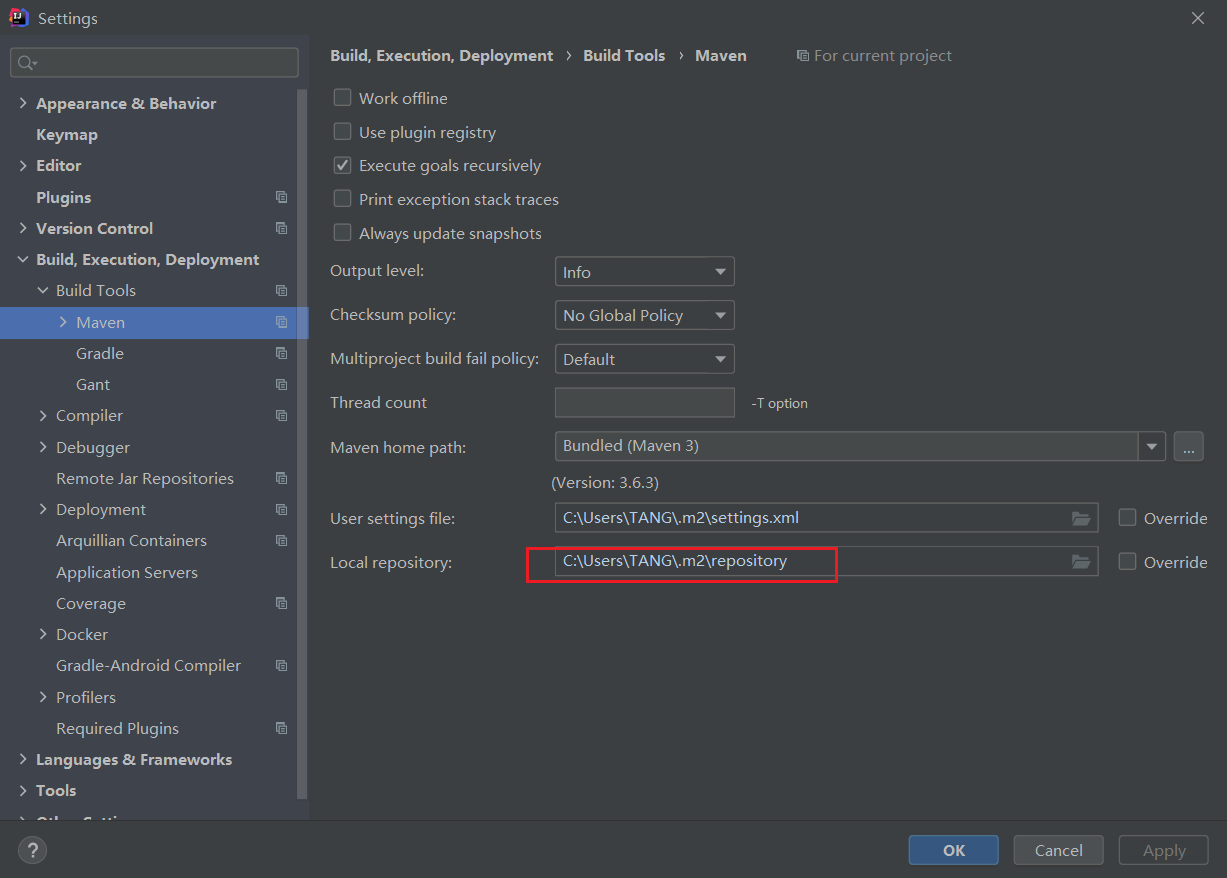
设置里面查看仓库地址:

启动jar中的项目

1
2
H3L1 MINGW64 /d/courseProject/day0410/course/system/target (master)
$ java -jar system-0.0.1-SNAPSHOT.jar --spring.profiles.active=dev

前端Vue的多环境配置

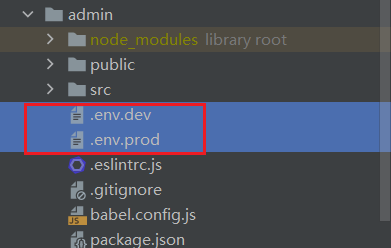
在项目根目录创建文件

//.env.dev文件
NODE_ENV=development
VUE_APP_SERVER=http://127.0.0.1:9000

//.env.prod文件
NODE_ENV=production
VUE_APP_SERVER=http://server.xxxxx.com

到package.json中配置:

 1
 2
 3
 4
 5
 6
 7
 8
 9
10
11
12
{
  "name": "admin",
  "version": "0.1.0",
  "private": true,
  "scripts": {
  //这里配置下面两条启动命令
    "serve-dev": "vue-cli-service serve --mode dev",
    "serve-prod": "vue-cli-service serve --mode prod",
    
    "build": "vue-cli-service build",
    "lint": "vue-cli-service lint"
  },

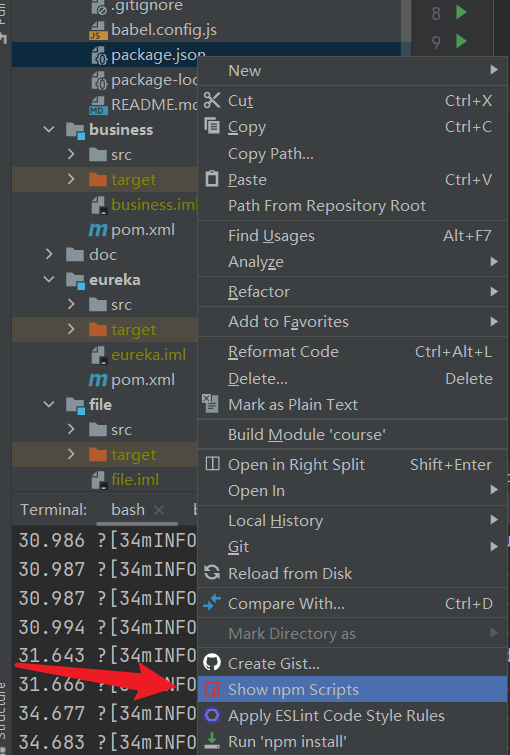
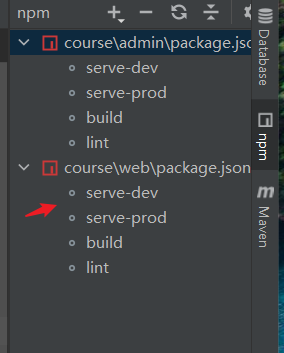
右键点击package.json 进入npm窗口

启动对应环境的命令就行了
Support the author with
alipay QR Code
wechat QR Code